OLED display and esp8266
February 18, 2023Today I tested the NodeMCU, which main component is ESP8266. The goal was to setup OTA (Over the air) method to upload the new code. As a side goal, I decided to verify is OLED display is working properly. One of the most interesting things is that OLED is using I2C communication.
Update nodeMCU over the air
First things first, install Arduino IDE. After installing I decided to follow this tutorial: https://arduino-esp8266.readthedocs.io/en/latest/ota_updates/readme.html#arduino-ide
After setting everything up, I used the example script and I added only blinking to test is the connection and updates working. I have really annoying issue with Arduino IDE. It’s stuck on uploading all the time and I need to reopen the IDE. The bug is described here: https://github.com/arduino/arduino-ide/issues/1356. Because of this bug, I wasted a good hour of investigating, why it’s not working. While it was working perfectly, but only IDE was getting stuck.
OTA updates are enabling me to test on different devices without connecting it directly to the laptop. Also, I can use powerbank to connect multiple devices. Right now, on early stages of exploring the microcontrollers ecosystem, it might feel like overshoot. When work will became small, incremental writing, it will make life much easier.
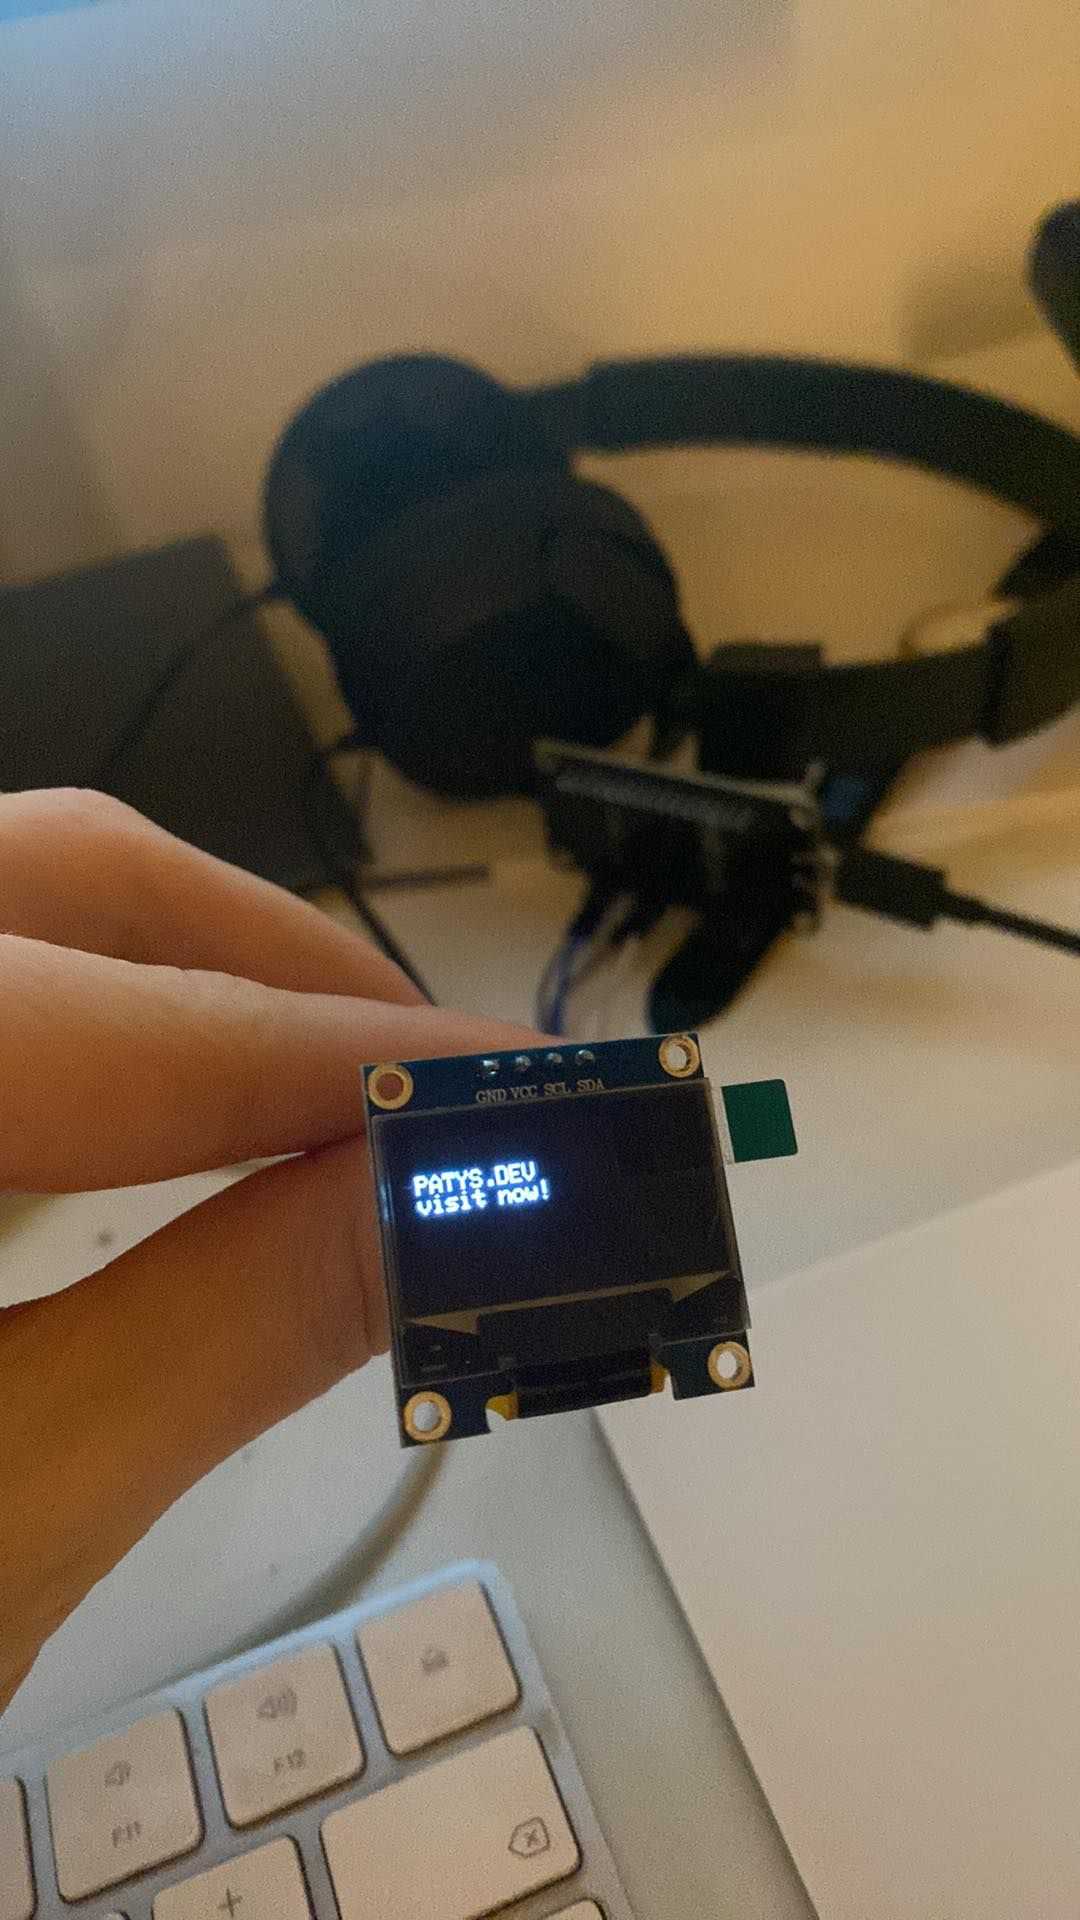
I2C communication to connect OLED display
I2C is a protocol. It’s quite old, because is used from the 90’s. Main usage is for microcontrollers. It’s slow, but it needs only 2 pins connected to device. Also, works mainly with +5V and +3,3V.
In Arduino ecosystem, there is Wire library responsible for I2C communication (https://www.arduino.cc/reference/en/language/functions/communication/wire/).